

pcl apply, and deploy assertions to protect your smart contracts.
Prerequisites:
- pcl installed
- Smart contracts deployed on a supported chain
- An assertion written and tested
New to the platform? See the Platform Overview to understand its features.
Step 1: Authenticate
Authenticate throughpcl:
- A login link appears in your terminal
- Open it in your browser
- Authenticate via wallet, email, Google, or GitHub
- Enter the login code from the CLI

Authentication with pcl auth login
Authentication links your wallet address with your
pcl session, allowing you to manage projects that your wallet owns.Step 2: Create a Project
- Navigate to the “Projects” tab or click “Create a Project”
-
Enter project details:
- Project Name: Your protocol name
- Project Description: What your project does
- Target Chain: Where your contracts are deployed
- Click “Continue to contract selection”
-
Add contract addresses:
- Enter each contract you want to protect
- Only contracts where your wallet is authorized can be added
- The platform verifies admin access via the network’s admin verifier (often owner-based)
- Review and click “Create Project”
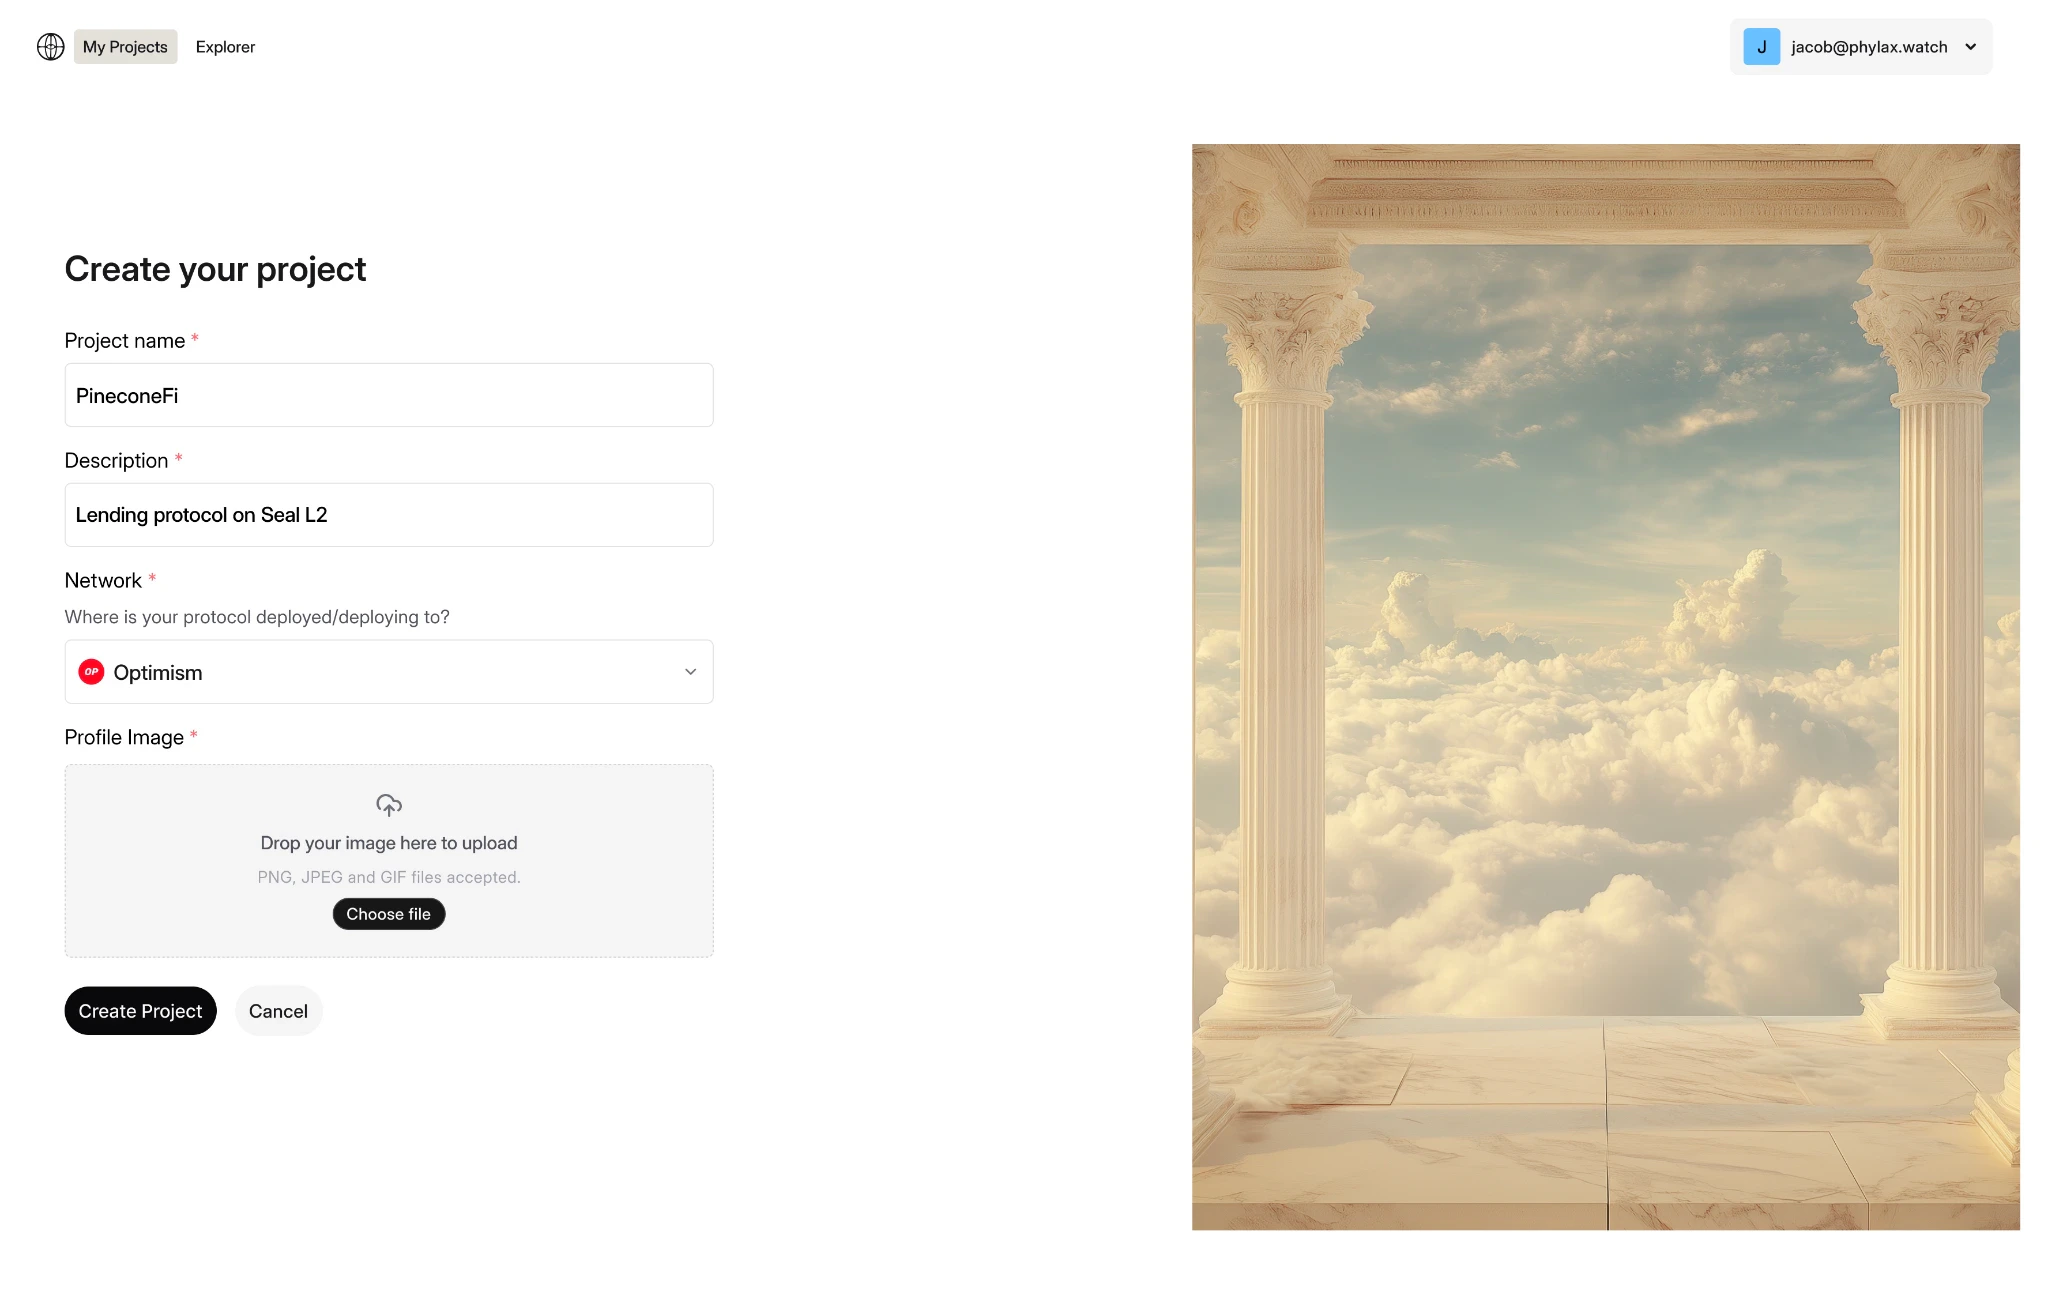
Creating a project in the platform
Only authorized admins can create a project for a contract. See Ownership Verification for details on verification methods.
Step 3: Apply Your Assertions
Configure yourcredible.toml and create a release with pcl apply:
credible.toml configuration, builds the assertion contracts, previews the requested changes, and creates a pending release on the platform after you confirm. Creating a release also generates the plain-English summaries shown in The Phylax Explorer for the protections in that release. See Apply Assertions for detailed instructions on configuring credible.toml and using pcl apply.
Step 4: Deploy the Assertion
After applying viapcl, complete deployment in the platform:
- Navigate to your project
- Select Releases
-
Choose the release created by
pcl apply - Review the release diff and confirm the target contracts and assertions
- Review Assertion verification, Source code, and Backtesting. See Release Review Checks for the fields and decisions in each check.
-
Confirm the environment declared by the release:
- Staging: Assertions run but do not block transactions
- Production: Assertions block violating transactions
- Connect the protocol manager wallet, select Deploy to Staging or Deploy to Production, and sign the transaction

Deploying an assertion in the platform
Adding an assertion is not immediate. The deployment transaction registers it in the on-chain State Oracle, and the State Oracle enforces a configured timelock before the assertion becomes staged or enforced.
Projects are managed in the platform, but the deployment transaction should be signed by the protocol admin, also called the manager wallet, that controls assertion lifecycle operations for the protected contracts. Use a multisig or governance-controlled wallet where appropriate.
The same model applies when you remove an assertion later. Removal is also scheduled through the State Oracle contracts and only takes effect after that configured timelock expires.
Step 5: Monitor Your Assertions
After deployment, manage assertions through your project dashboard:- View Active Assertions: See all assertions protecting your contracts
- Monitor Status: Check assertion execution and triggered violations
- View Invalidations: View transactions that were invalidated by assertions
- Update Assertions: Submit new versions as your protocol evolves
- Remove Assertions: Request removal when needed; the assertion remains active until the State Oracle timelock finishes
Troubleshooting
Recap
You’ve deployed an assertion to protect your protocol:- Authenticate: Sign in via
pcl auth login - Create project: Set up your project and link contracts
- Apply: Create a release via
pcl apply - Deploy: Complete deployment in the platform and sign transaction
- Monitor: Track assertion status in your dashboard
Video Walkthrough
Full walkthrough from authentication to deployment:Next Steps
Write Assertions
Learn how to write effective assertions
Test Assertions
Test your assertions before deployment
Invalidations
Monitor prevented violations
Ownership Verification
Understand ownership requirements